Minecraft 1.12.2 for PC/Mac. This is also sometimes called Java Edition. Click here to get Minecraft.
Java: Java is used to install Minecraft Forge. Click here to get Java.
Forge: Minecraft Forge is used to load mods. Click here to get the Forge version used on the server. After downloading double click the file and choose the client install. Make sure you have already installed Java. After installing forge you should launch Minecraft using Forge to ensure everything gets setup completely before installing mods. See the section below about setting up the launcher.
PTRLib: Some mods require PTRLib to function. Click here to get the PTRLib version used on the server. This will need to be copied to your mods directory. Details below.
Decocraft: This mod is used for decorative items. Click here to get the Decocraft version used on the server. This will need to be copied to your mods directory. Details below.
Setting up the Minecraft Launcher
The Minecraft Launcher should have a new option for Forge. Click the arrow next to the Play button and select the Forge option.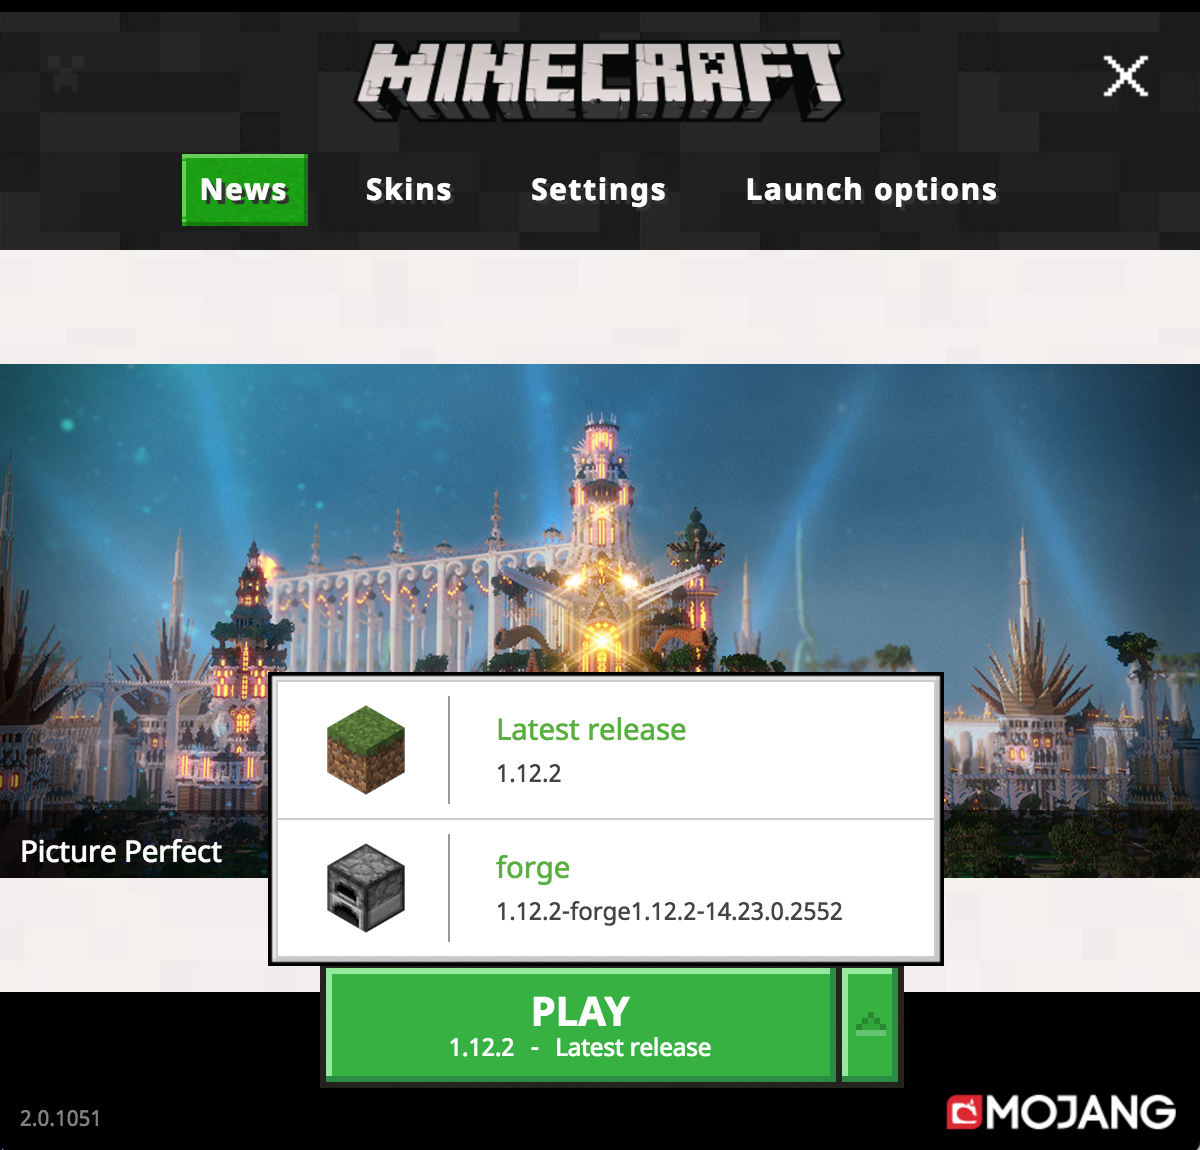
You will likely also need to allocate more memory to Minecraft to handle the mods. Click on Launch options. Then enable advanced settings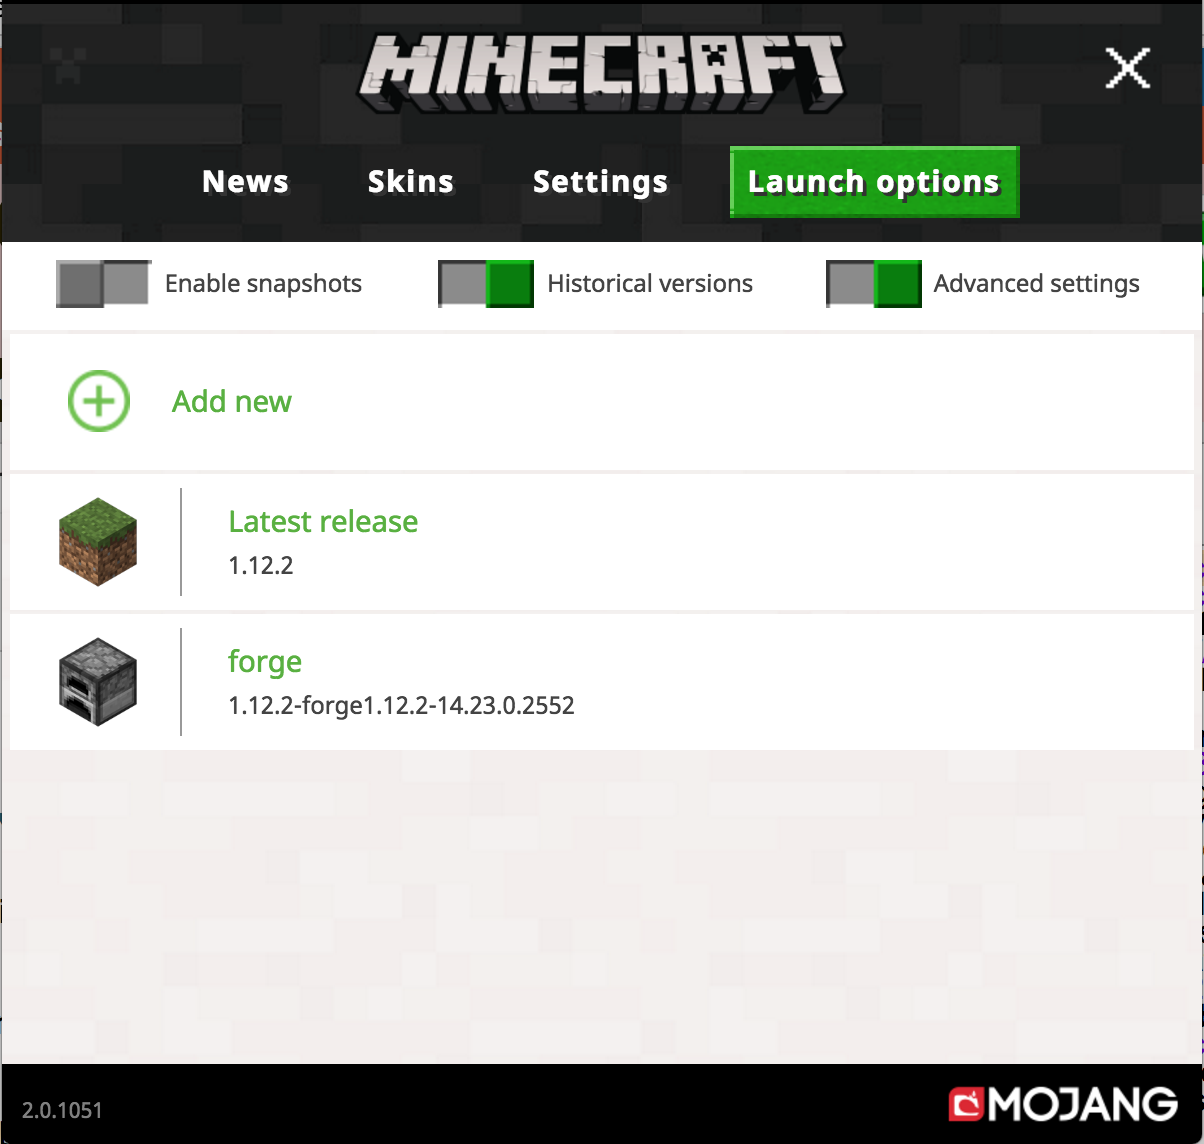
Then select the forge option to display the settings. Under the JVM arguments increase -Xmx1G to 2G or 4G if your computer has enough memory.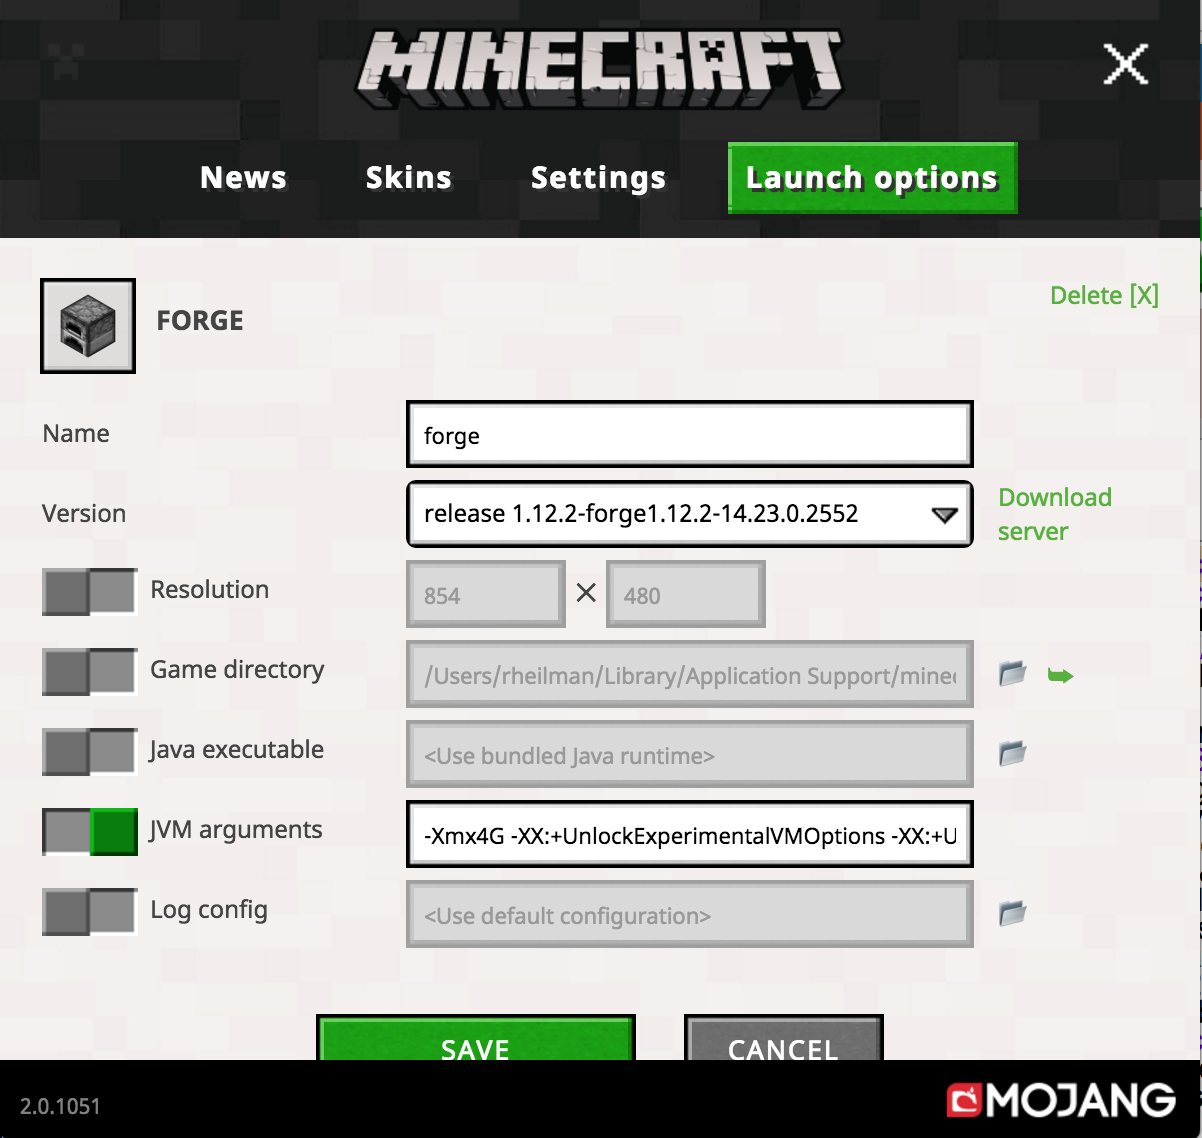
Installing Mods
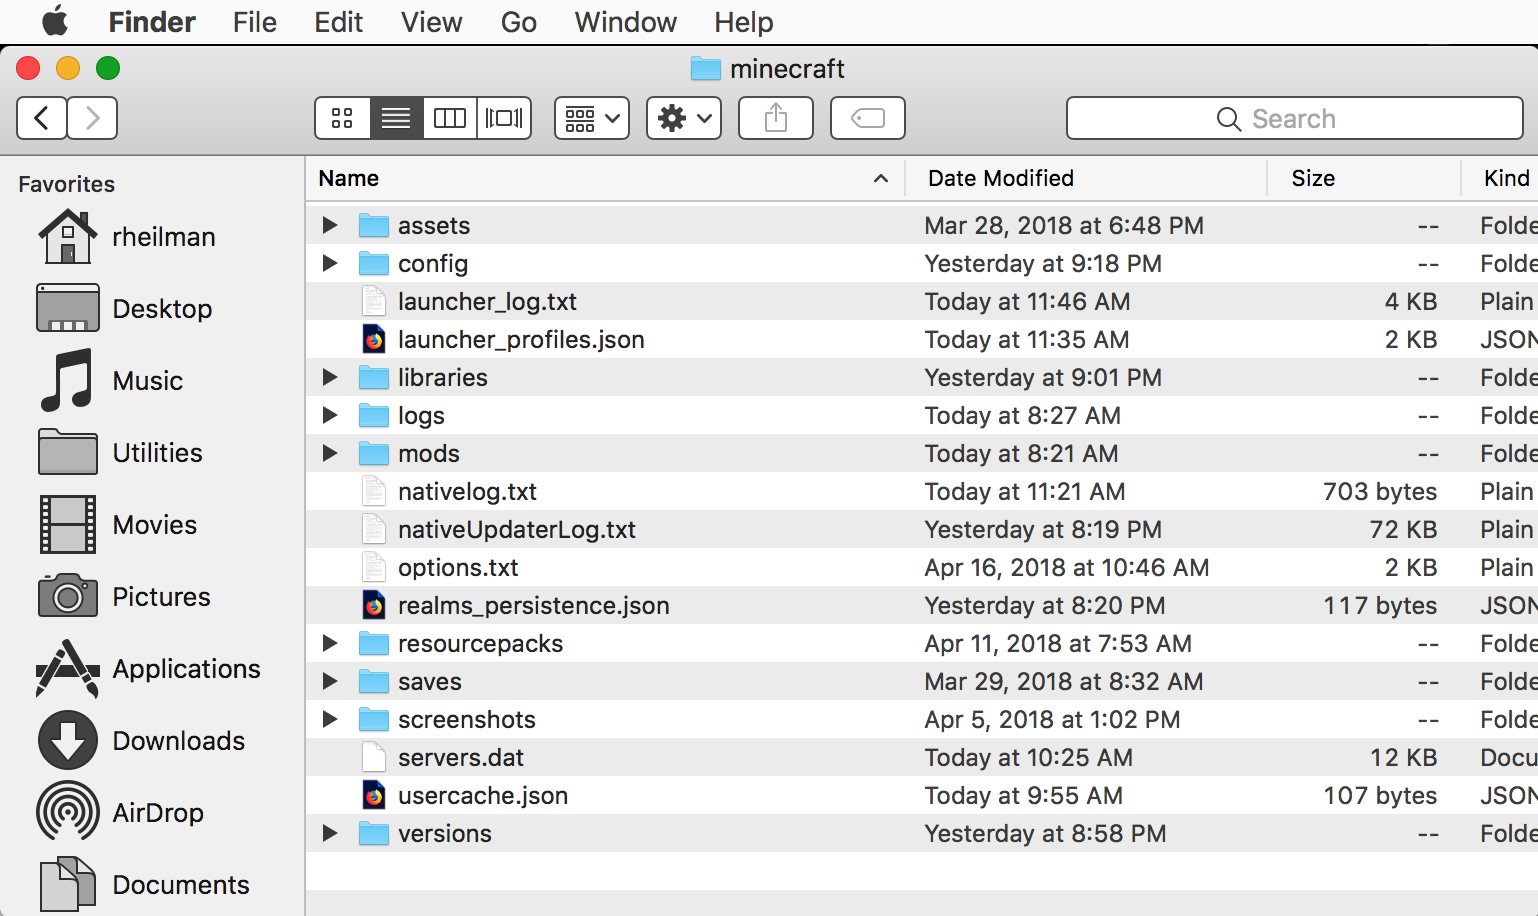
Mods are usually delivered as .jar or .zip files. They are simply copied into your mods directory under your Minecraft directory. If you have launched Minecraft using Forge the mods directory will be created for you. Locating your mods directory is different on Mac vs Windows.
Mac
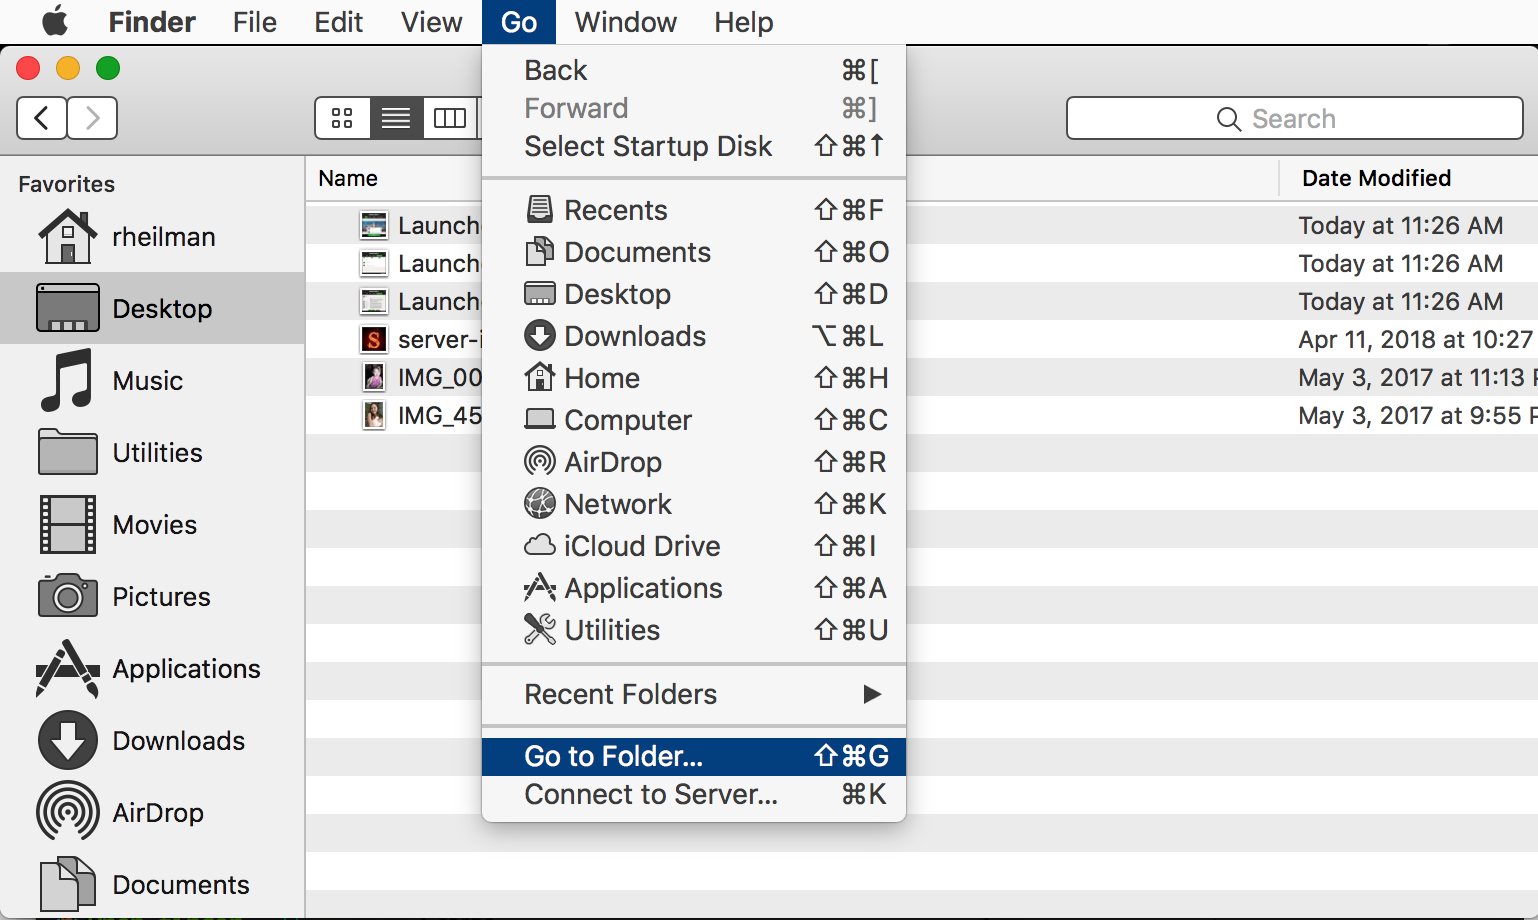
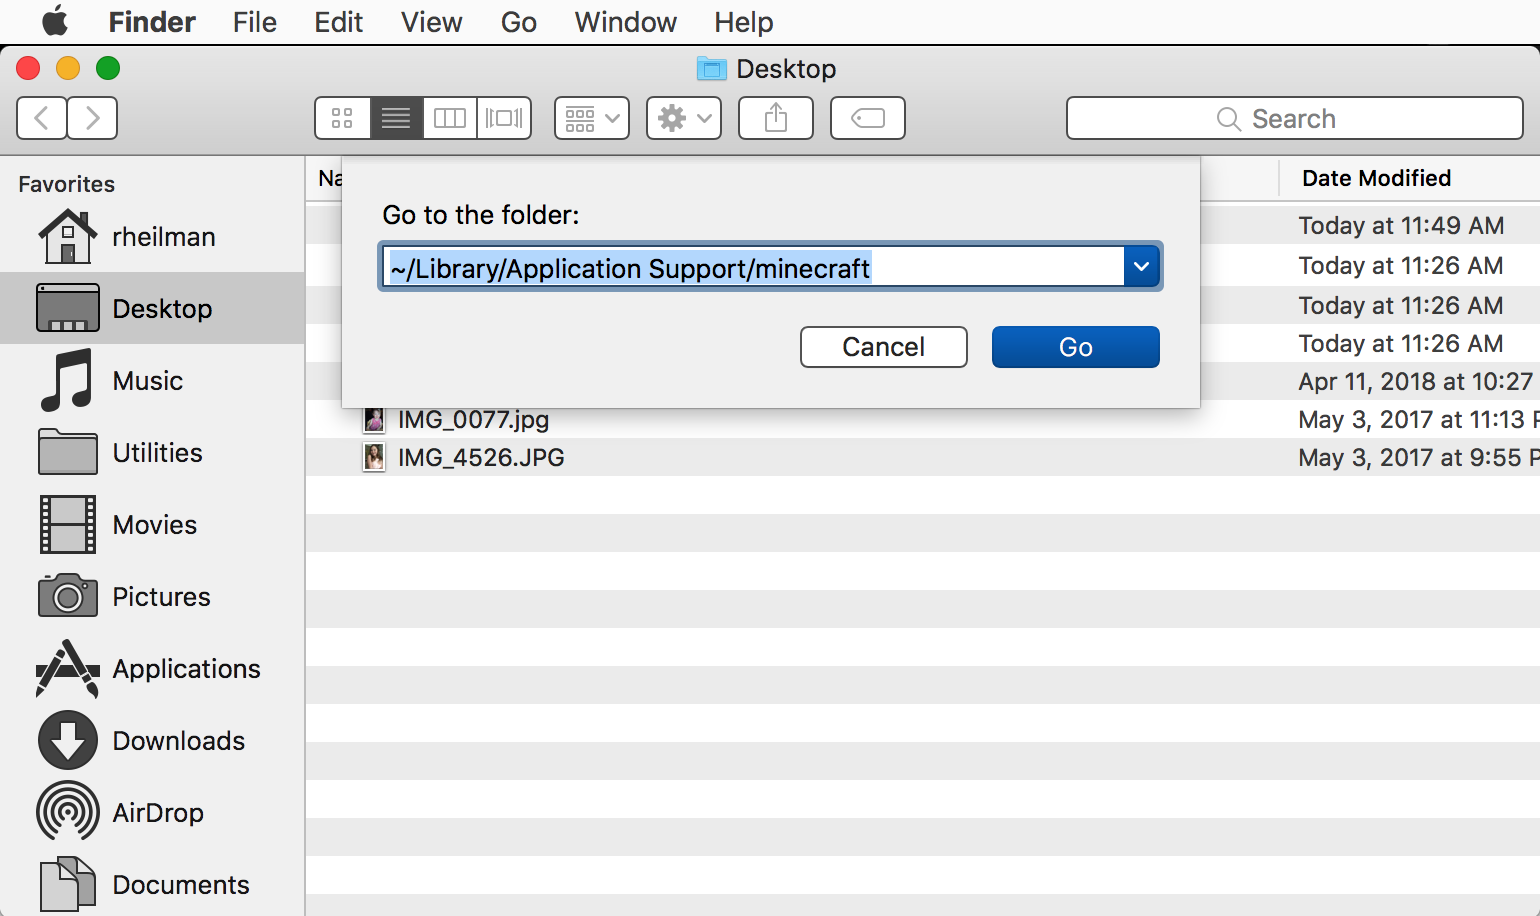
Open finder. At the top click Go, then select Go to Folder. Type in the following (without quotes) "~/Library/Application Support/minecraft" then click the Go button. Copy the mod files into the mods directory located here.